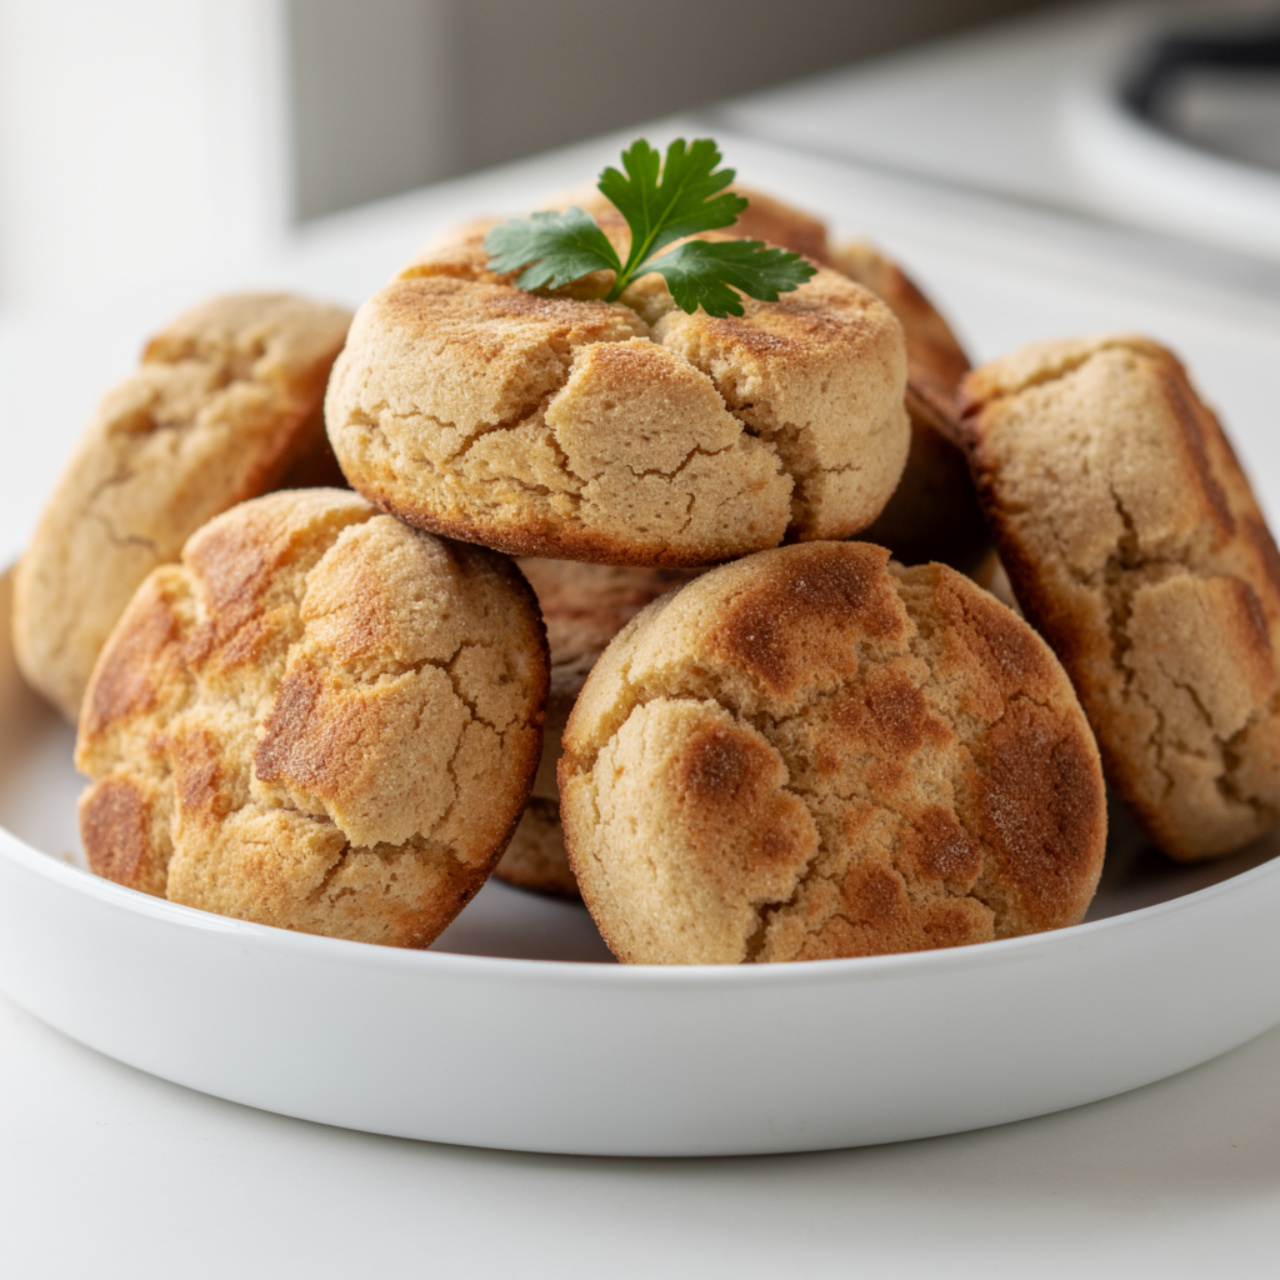
Gluten-Free English Muffins
Fluffy, nook-and-cranny gluten-free English muffins made on the stovetop, perfect for toasting with butter and jam or building the ultimate breakfast sandwich.

Finally, Gluten-Free English Muffins Worth Toasting
If you have missed the satisfying tear of an English muffin since going gluten free, this recipe is about to become a staple in your kitchen. These gluten free English muffins have all the nooks and crannies, the slightly chewy crumb, and the golden cornmeal crust of the bakery version, minus any gluten. They are cooked right on the stovetop, so there is no need to babysit an oven, and the whole process comes together with pantry staples you likely already have on hand.
Whether you are new to gluten free eating or a longtime pro, this is one of those gluten free recipes bread lovers will actually get excited about. No dense hockey pucks here, just proper, fluffy muffins ready for butter, jam, or a fried egg.
Before we get cooking, the right tools and ingredients make a real difference here. A good gluten free flour blend and a set of ring molds take this recipe from good to bakery-quality, so it is worth having the right setup on hand.
Why This Recipe Works So Well
Unlike gluten-containing dough, gluten free batter cannot be kneaded or shaped by hand. Instead, this recipe leans on a thick, spreadable batter that gets poured into rings and cooked low and slow. That gentle heat is the secret to cooking the inside through without scorching the outside, which is the number one issue people run into with homemade gluten free English muffins.
A splash of apple cider vinegar reacts with the yeast and baking components to give the crumb some lift and a subtle tang, much like a light gluten free sourdough flavor, without any of the fuss of maintaining a starter.
Chef's Tip: Resist the urge to crank up the heat to speed things along. Low and slow is what gives you that classic golden crust and a fully cooked center. If your muffins are browning too fast, simply lower the heat and add a couple more minutes per side.
A Few Notes on Ingredients
This recipe was built with gluten free dairy free recipes in mind, so swapping the milk and butter for your favorite plant-based versions works seamlessly. Just be sure your gluten free flour blend is one you trust for structure. Blends without enough starch can lead to a gummy interior, which is the opposite of what we want.
If you are newer to foods with gluten substitutes, know that xanthan gum is doing a lot of heavy lifting here. It mimics the stretch that gluten normally provides, so do not skip it unless your blend already includes it.
Ready to make it? Here is the full step-by-step recipe:
Gluten-Free English Muffins
Fluffy, nook-and-cranny gluten-free English muffins made on the stovetop, perfect for toasting with butter and jam or building the ultimate breakfast sandwich.
Ingredients
- 2 1/2 cups gluten-free all-purpose flour blend, one with xanthan gum already included works best
- 1/2 tsp xanthan gum, omit if your flour blend already contains it
- 1 tbsp granulated sugar
- 2 1/4 tsp instant yeast, one standard packet
- 1 tsp salt, fine sea salt
- 1 cup milk, warm, dairy-free milk works too
- 3/8 cup water, warm
- 2 tbsp unsalted butter, melted, or dairy-free butter
- 2 large eggs, room temperature
- 1 tsp apple cider vinegar, helps with rise and texture
- 3 tbsp cornmeal, for dusting, plus more for the pan
Instruction
In a large bowl, whisk together the gluten-free flour blend, xanthan gum (if using), sugar, instant yeast, and salt.
In a separate bowl or measuring cup, combine the warm milk, warm water, melted butter, eggs, and apple cider vinegar.
Pour the wet ingredients into the dry ingredients and beat with a hand mixer or sturdy spoon for about 2 minutes, until you have a thick, sticky, batter-like dough. It will not look like traditional bread dough.
Cover the bowl with plastic wrap or a damp towel and let it rise in a warm spot for 45 to 60 minutes, until visibly puffy and doubled.
Sprinkle a good layer of cornmeal over a baking sheet or large plate.
Using a greased 3 to 4 inch ring mold (or a well-greased mason jar lid ring), scoop the dough into the rings set on the cornmeal, filling each about halfway. Sprinkle the tops with more cornmeal.
Heat a large skillet or griddle over low to medium-low heat and lightly grease it.
Carefully transfer the rings to the skillet using a spatula. Cook for 8 to 10 minutes per side, keeping the heat low so the centers cook through without burning the exterior.
Remove the rings carefully with tongs (the muffins should hold their shape by now) and flip to cook the second side for another 8 to 10 minutes, until both sides are golden brown and a toothpick inserted in the center comes out clean.
Transfer the muffins to a wire rack and let cool completely before slicing, this helps the crumb set properly.
Split with a fork to create the classic nooks and crannies, then toast and serve with your favorite toppings.
Equipment
- Large mixing bowl
- Hand mixer or sturdy spoon
- 3 to 4 inch ring molds or mason jar lid rings
- Large skillet or griddle
- Wire cooling rack
- Fork for splitting
Notes
Serving Suggestions
Once cooled, split your muffins with a fork rather than a knife. This creates those signature craggy edges that toast up beautifully and hold onto melted butter in all the right places. A few favorite ways to serve them:
- Classic style with salted butter and a drizzle of honey
- Toasted and topped with avocado and a soft-boiled egg
- As the base for a breakfast sandwich with egg, cheese, and sausage
- Split, toasted, and spread with your favorite jam for an easy afternoon snack
Storage and Make-Ahead Tips
These muffins are wonderfully freezer-friendly, which makes them ideal for gluten free eating on busy mornings. Let them cool completely, then store at room temperature in an airtight container for up to 3 days, or freeze in a zip-top bag for up to 2 months.
When you are ready to eat one, just pop it straight from the freezer into the toaster. No thawing required, and you will have a warm, crisp muffin in minutes.
Once you master this base recipe, it becomes one of the most reliable gluten free recipes easy enough for a weekday breakfast, yet special enough for a lazy weekend brunch spread. Give it a try this week and see just how close you can get to that bakery-fresh nook-and-cranny magic, entirely gluten free.