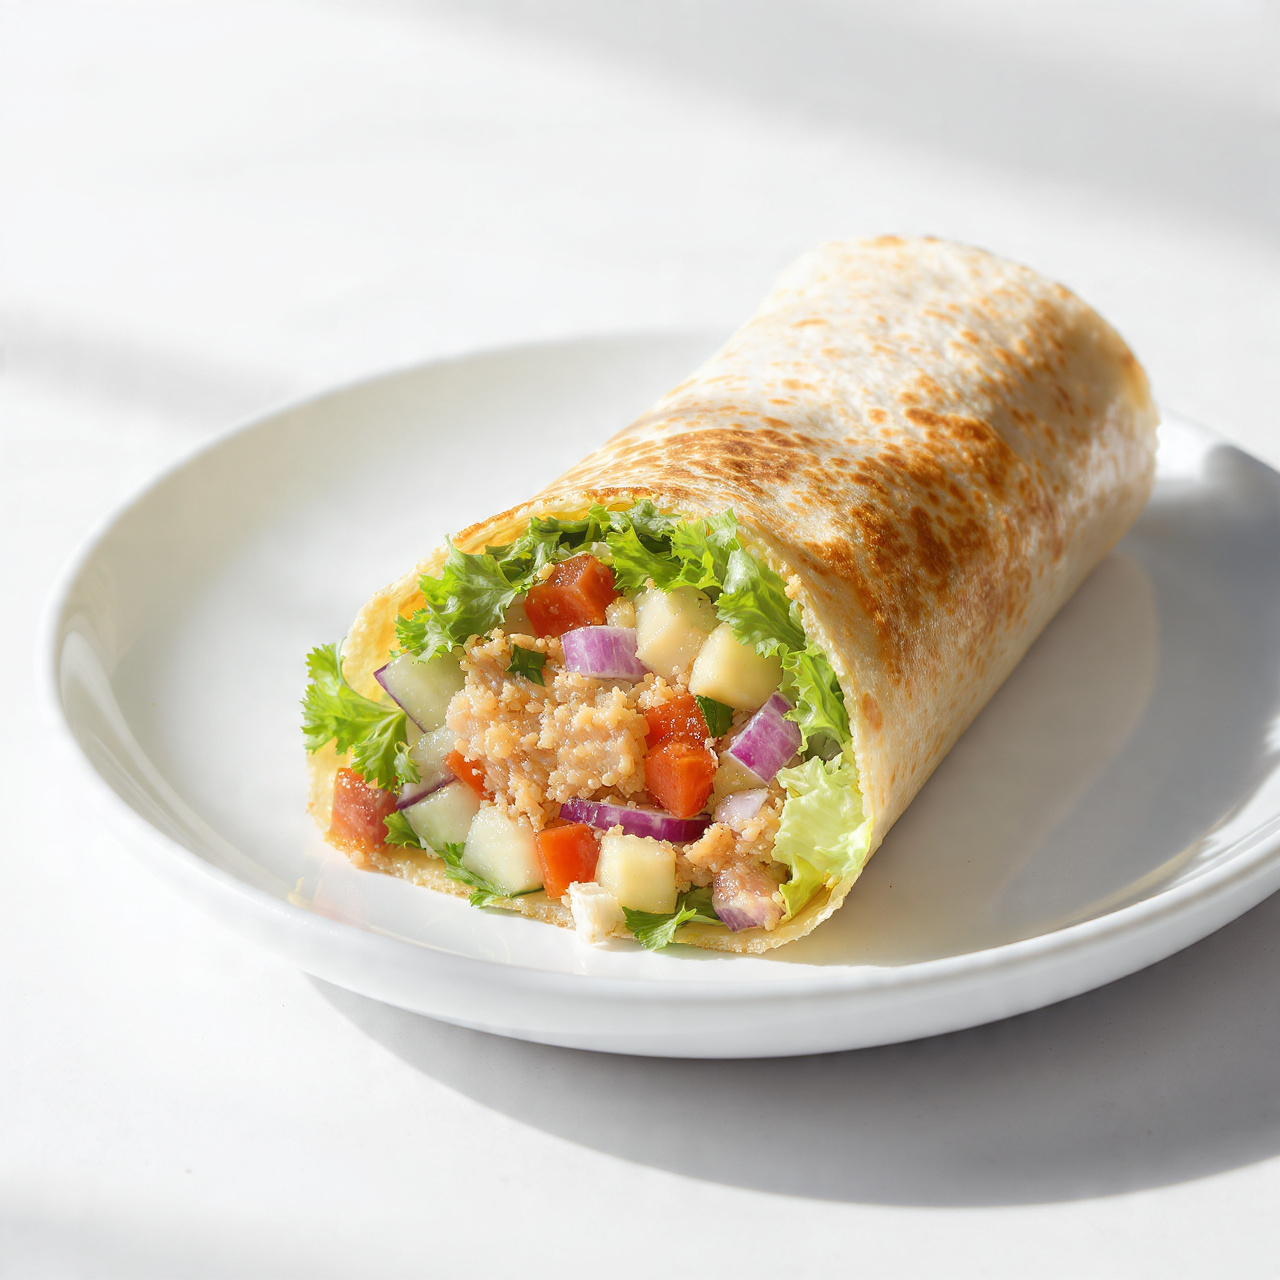
Tuna Salad Wrap (Easy, Creamy, and Ready in 10 Minutes)
This easy tuna salad wrap is creamy, crunchy, and packed with flavor. A quick 10-minute lunch you can make with pantry staples any day of the week.

The Easiest Tuna Salad Wrap You Will Ever Make
Some lunches just work. This tuna salad wrap is one of those recipes that hits every note: it is creamy, crunchy, fresh, and filling. You can pull it together in about 10 minutes using ingredients you probably already have, which makes it the ultimate easy tuna wrap lunch for busy weekdays, quick work-from-home meals, or even a satisfying easy tuna wrap meal prep situation.
Whether you are already a devoted fan of the classic tuna wrap sandwich recipe or you are discovering just how good a tuna tortilla wrap can be, this version delivers. There is real texture from celery and red onion, a bright hit of lemon, and enough creaminess to make every bite satisfying without feeling heavy.
Why This Tuna Wrap Recipe Works So Well
The secret to a great tuna salad wrap is balance. You want:
- Creaminess from good-quality mayo or Greek yogurt
- Crunch from fresh vegetables like celery and onion
- Brightness from a squeeze of real lemon juice
- Freshness from crisp lettuce and ripe tomato inside the wrap
Too many tuna wraps end up soggy, bland, or overwhelmingly fishy. This recipe solves all three problems. Draining your tuna well keeps things firm. Dijon mustard and lemon juice add complexity without overpowering. And assembling the wrap to order (rather than hours in advance) keeps the tortilla perfectly soft and pliable.
This approach also works brilliantly as a simple chicken pita wrap lunch variation if you swap tuna for shredded rotisserie chicken. The base formula is that flexible.
Using a high-quality canned tuna packed in water makes a noticeable difference in flavor and texture, and a sturdy large flour tortilla holds the filling without tearing. Having the right pantry basics on hand makes how to make a tuna wrap feel completely effortless.
How To Make a Tuna Wrap: Tips Before You Start
Before you dive in, a few quick notes that will make your wrap even better:
Chef's Tip: Always drain your canned tuna as thoroughly as possible. Press it firmly in the strainer or use your hands to squeeze out excess liquid. Wet tuna = soggy wrap. Nobody wants that.
On the tortilla: A 10-inch flour tortilla gives you the best surface area for rolling without the filling spilling out. Warm it in a dry skillet for 20 to 30 seconds if you want a softer, more pliable wrap that holds together beautifully.
On the mayo: Full-fat mayonnaise gives the richest result, but light mayo works well too. If you are going dairy-free or want extra protein, plain Greek yogurt is a wonderful swap and keeps the dressing just as creamy.
On add-ins: This is a flexible recipe. Want something heartier? Add a handful of shredded cheddar or a few slices of avocado. Looking for something closer to a Chik'n Caesar wrap in vibe? Toss in a tablespoon of Caesar dressing alongside the mayo and top with shaved parmesan.
Building the Perfect Tuna Tortilla Wrap
Once your tuna salad is mixed, assembly takes about two minutes. The key is layering strategically:
- Lettuce goes down first. It acts as a barrier between the tortilla and the wet filling, which helps prevent sogginess.
- Spread the tuna salad in the center, leaving clear borders on all sides for folding.
- Add your toppings (tomato, avocado, or whatever you love) on top of the tuna.
- Fold in the sides first, then roll tightly from the bottom up.
Slice on the diagonal. It is not just for looks. It genuinely makes the wrap easier to eat and gives you that satisfying cross-section view of everything inside.
This technique works equally well if you are making simple chicken wraps for lunch using rotisserie chicken in place of the tuna. The layering logic is exactly the same.
Ready to make it? Here is the full step-by-step recipe:
Tuna Salad Wrap (Easy, Creamy, and Ready in 10 Minutes)
This easy tuna salad wrap is creamy, crunchy, and packed with flavor. A quick 10-minute lunch you can make with pantry staples any day of the week.
Ingredients
- 10 oz canned tuna in water, drained well
- 3 tbsp mayonnaise, full-fat or light both work
- 1 tsp Dijon mustard
- 2 stalks celery, finely chopped
- 1/4 cup red onion, finely diced
- 1 tbsp lemon juice, freshly squeezed
- 1/4 tsp garlic powder
- 1/4 tsp salt, or to taste
- 1/8 tsp black pepper, freshly ground
- 2 large flour tortillas, 10-inch size works best
- 4 romaine lettuce leaves, washed and dried
- 1 ripe tomato, thinly sliced
- 1/2 avocado, sliced or mashed, optional
Instruction
Drain the canned tuna thoroughly and add it to a medium mixing bowl. Use a fork to flake it into small, even pieces.
Add the mayonnaise, Dijon mustard, lemon juice, garlic powder, salt, and black pepper to the bowl. Stir everything together until well combined and creamy.
Fold in the finely chopped celery and diced red onion. Taste and adjust seasoning as needed.
Lay a large flour tortilla flat on a clean surface or cutting board.
Layer 2 romaine lettuce leaves across the center of the tortilla, leaving about 2 inches of space on each side.
Spoon half of the tuna salad mixture over the lettuce in an even layer. Top with tomato slices and avocado if using.
Fold in the left and right sides of the tortilla, then roll it tightly from the bottom up into a firm wrap.
Slice in half diagonally and serve immediately, or wrap tightly in parchment paper for an easy tuna wrap lunch on the go. Repeat with the second tortilla.
Equipment
- Medium mixing bowl
- Fork
- Sharp knife
- Cutting board
Notes
Serving Ideas and Variations
This easy tuna wrap lunch is a complete meal on its own, but here are a few ways to round it out or shake things up:
- Serve with: A small side salad, a cup of tomato soup, sweet potato chips, or a handful of pickles
- Make it spicy: Add sriracha, pickled jalapeños, or a pinch of cayenne to the filling
- Make it a chicken Caesar wrap lunch box: Swap tuna for grilled or shredded chicken, add romaine and parmesan, and use Caesar dressing in place of mayo
- Use a different wrap: Whole wheat tortillas, spinach wraps, or even a pita pocket all work beautifully with this filling
Storage Tip: Keep the tuna salad filling and tortillas separate if you are meal prepping. Assembled wraps are best eaten the same day. The filling keeps well in the fridge for up to 3 days.
Whether you are packing a simple chicken Caesar wrap lunch box for the kids, meal prepping a week of easy tuna wrap lunches, or just figuring out what to make for a quick midday meal, this recipe is one you will come back to again and again.